One unique feature REAPER has is the ability you display audio items in five different ways! 🤯
This ensures that no matter what kind of audio needs to be handled, REAPER can provide the user with the perfect visual representation 👌
I will now review each of them, demonstrate what it can be used with, and provide shortcuts for displaying them.
⚡️ QUICK JUMP
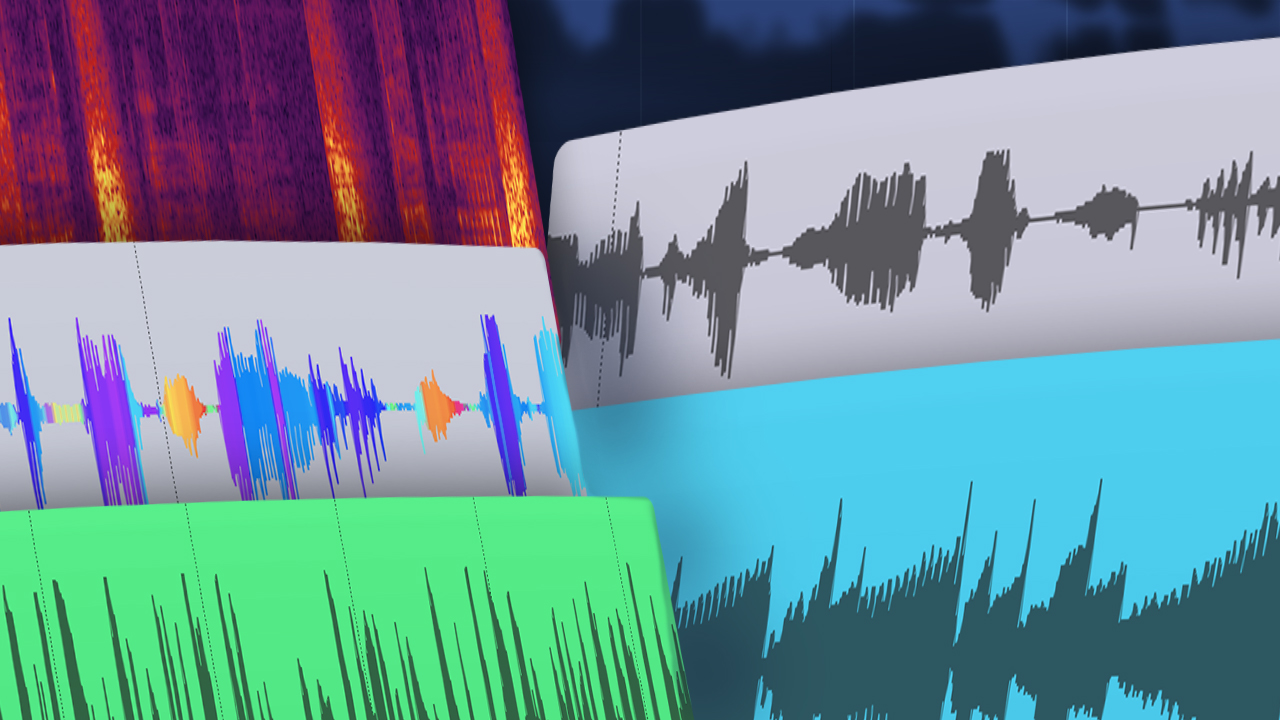
1. Regular Peaks
These are the default waveforms, which most of us are familiar with.
We get a clear visual representation of the audio's loudness and length.
ㅤ
2. Rectify Peaks

Just like regular peaks but you only see half of the waveform.
This is often used for video editing, as it helps to better identify dialogue and quieter passages. Also useful if you have limited vertical space like most video editors workspaces~
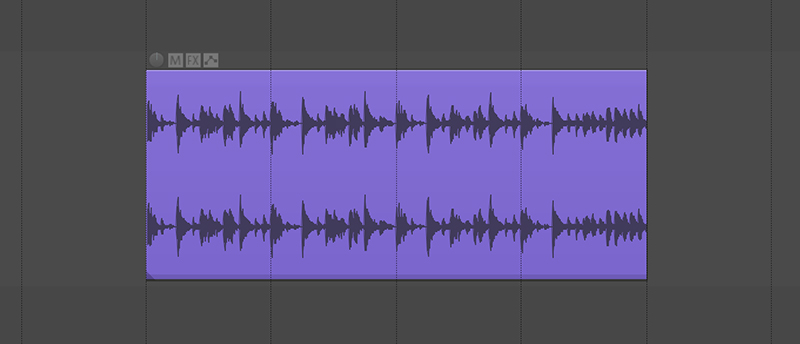
3. Spectral Peaks
This view allows you to visualize different frequencies as colors.
This great for detecting sibilance in vocals, noise in recordings, transcribing notes and more!
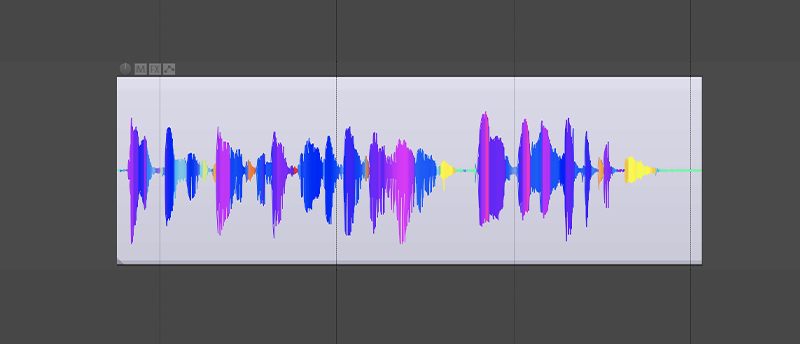
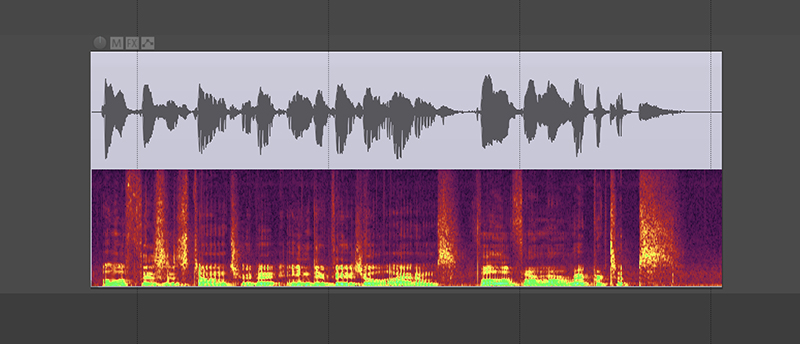
4. Spectrogram
This is a visual representation of the frequencies intensity.
We can compare energy levels at different frequencies like 200 Hz and 10 kHz, and also see how these levels change over time.
With this view, it is easy to see any unwanted noise, squeaks, rumble and more!
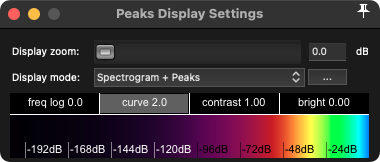
5. Spectrogram and Peaks
This will display half spectrogram and half peaks.
I often use this because it offers the best of both worlds! You get to view a regular loudness peak with frequency information just above it, making it easier to identify sounds.
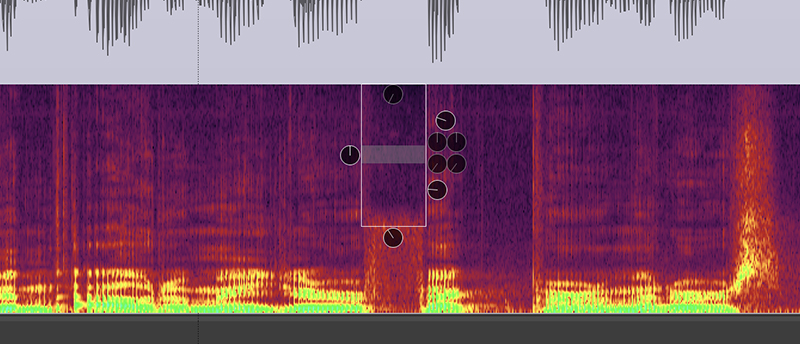
Bonus: Spectral Edits
When using any of the spectrogram views, you can use the action Spectrogram: Add spectral edit to item to tweak the audio Izotope RX style! It’s pretty goood. I usually use it to remove noises and esses.
That’s it!
Now you know everything about the different peak views REAPER has to offer!
If you set shortcuts for them, you can quickly switch between them and view your audio in the most suitable way for each task. Or you can place them in one of your top toolbars.
Enjoy 💙