Ever tried recording your voice or your guitar and there’s a bunch of annoying delay thats making it impossible to do anything? That’s latency, and it’s the worst! 😭
Latency is the delay between what you play or sing and what you hear back in your headphones or speakers. It's one of the most common frustrations when starting to record in REAPER, and there are a few different ways to deal with it.
🔌 Use the right audio driver
The first thing to check is your audio driver.
If you're on Windows, you want to be using an ASIO driver. The default Windows audio drivers add a lot of latency. Most audio interfaces come with their own ASIO driver — install it and select it in Options > Preferences > Audio > Device.
If your interface doesn't have its own ASIO driver, you can download ASIO4ALL for free at asio4all.org. It's a generic driver that works with most setups.
Another option for Windows is WASAPI, which is built into Windows 10 and 11, no download needed. To try it, go to Options > Preferences > Audio > Device > Audio system and select WASAPI. Then set your input and output devices accordingly.
If you're on Mac, you don't need to install anything. Mac already comes with a built-in audio driver called Core Audio, which handles latency really well out of the box 😄
🎛️ Lower your buffer size
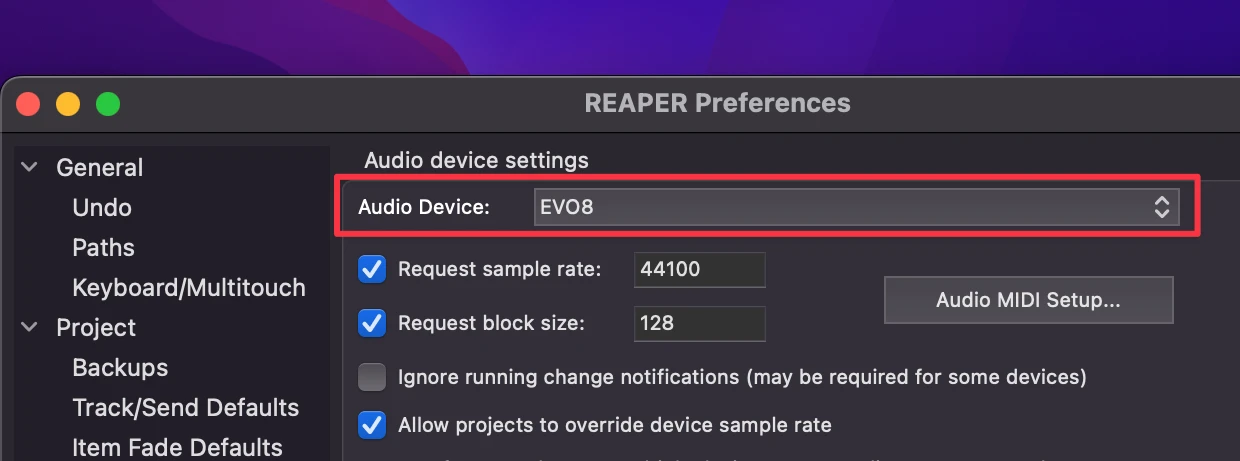
The main setting that controls latency is the block size (also called buffer size). You can access it by clicking the audio device info in the top right corner of REAPER, or going to Options > Preferences > Audio > Device.
As a rule of thumb:
- Higher buffer size = more CPU headroom, smoother playback, but more latency
- Lower buffer size = less latency, but more CPU demand and possible glitches
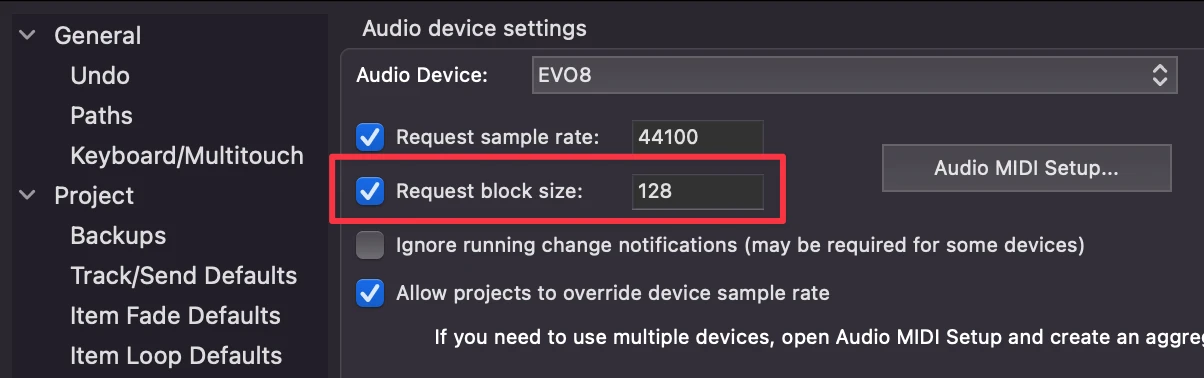
Try 128 samples as a starting point for recording. If you hear crackling or pops, double the number (256 samples). If everything sounds clean, try halving that number (64 samples).
🏗️ Use stem tracks for large sessions
Here's the situation: you have a big project with lots of plugins, and you can't lower the buffer without getting glitches. But your buffer is too high to record comfortably.
The solution is to render your session into reference tracks, mute everything, and record against those instead. With just a few lightweight audio files playing back, your CPU drops to nearly zero and you can lower the buffer as much as you want! 👍
Here's how to do it:
- Create a new track and name it "Stereo Reference" (or whatever you like).
- Click and drag the tracks you want to render down into this track as shown in the gif below. This will turn the Stereo Reference into the parent folder of that track.
- Right-click the folder track “Stereo Reference” and go to Render/freeze tracks > Render track to stereo stems track (mute originals). REAPER will render everything inside the folder down to a single stereo audio file on that track and mute the rest of the tracks.
- Now you can lower your block size to something like 128 samples.
- Record your vocals or whatever you need to capture.
- When you're done, delete the rendered track, unmute the originals, and raise the buffer back up.
🎸 Auto-bypass plugins when you record arm (REAPER 7.62+)
If you're on REAPER 7.62 or later, there's a new feature that makes recording with a heavy session way less painful.
REAPER can now automatically bypass any plugins in your instrument chain that introduce latency the moment you arm a track, then restore them as soon as you stop recording. This means you can keep your big plugins loaded and not worry about them affecting your recording latency.
For example, if you have a limiter on your master track, it will likely add some latency. With this option enabled, REAPER temporarily disables any plugin in your chain that introduces latency whenever you arm a track for recording. The could be limiters, multiband processors, denoisers, and heavy plugins like Soothe, FabFilter Pro-L, or iZotope RX.
To set it up:
- Go to Options > Preferences > Audio
- Enable Auto Bypass Effects on Record Arm
- Set your threshold — 3ms is a good starting point (if you notice that your amp sim gets disabled, you can increase this number!)
- Hit Apply
REAPER will handle the rest automatically every time you hit record arm.
🎧 Use direct monitoring
If your audio interface supports direct monitoring, it's the cleanest solution for zero latency while recording. Your input signal goes straight to your headphones from the hardware, before it even hits the computer.
This works great when you're recording a processed signal that's already ready to print — like a vocal through your interface's preamp, or a guitar through an amp sim running on the interface itself. For a dry DI guitar signal, direct monitoring won't sound like much since there's no processing on it yet.
When using direct monitoring, turn off REAPER's software input monitoring on the track to avoid hearing yourself twice.
That’s it! – hope that helps, reaperfriends. 💙